Tuesday, February 28, 2012

A Rather Holey Endeavor

I'd been eyeballing this lovely concoction over at Smitten Kitchen for some time; chocolate and peanut butter is a favorite combination of mine. How could it go wrong in cake form? It looks so lovely and delicious in all her photos, and she included so many helpful tips. I enlisted the help of my mom, and we set out to recreate this chocolate-peanut butter confection.

I feel that I should take a moment to point out that my mom is rather... known in our family for being an expert baker. Well, I should clarify. She's known for making things that taste exquisite. And look like poop piles. We have running jokes in the family about the tasty disasters she's created over the years, and if you find the ugliest dessert on the potluck table? My mom probably brought it, and it will probably taste divine.

I, on the other hand, am known for making things that look like they're supposed to. I have a tendency to lean toward perfectionism, and will take the few extra minutes (or however long it takes!!!) to make things look good. That's not to say that I sacrifice taste, or that my way is better or worse than my mom's; it's just who I am and my family makes fun of me for having things appear "just-so."

So, my mom and I set out on this endeavor to create the chocolate peanut butter cake. Thanks to my health, I was delegated the task of supervisor, and my mom did most of the work, quite honestly. The result? Well, I'll let you be the judge:


Okay, I have to say it looked slightly more appetizing once we added the chocolate peanut butter glaze on top:


Still, NOT AS PICTURED!!

It did taste divine, however, so I will not complain too terribly much. Okay, I'll complain, but only to my mom.

Wednesday, November 23, 2011

Happy Thanksgiving! Now Rise, Dammit

So, bread. Yeah, yeast and I have not been friends much. I've not had a good feel for it. My mom used to bake when I was very small, before I learned to cook on my own - so I never gained any confidence in working with it. Add to that, the first few tries with baking haven't worked all that well. (For example, this is a photo of the whole wheat loaf that I made about a year ago.)

If you can tell, it didn't raise well, and was pretty dense, though tasty. It made for some delicious toast, and a few nice croutons.


So, I decided to try this recipe: http://dailywaffle.com/2011/10/14/milk-bread-yeast-rolls-yeah-i-made-this/ It's a milk bread roll recipe and seeing that it's Turkey Day tomorrow and I'm responsible for said turkey, I thought I'd add in rolls for fun.

(This photo is in the final rise)
Here are my changes to the recipe: Instead of 5 TBSP butter, I did a whole stick. Why? Um. I forgot and just melted the entire stick and stuck it in. I actually didn't realize that until just now when I was reviewing the recipe. I also forgot about having to do the egg wash a second time so I am off to do that. More photos in a few moments. I don't have silpat at home, so I used parchment paper.


I'm not so sure if there are hot spots in my oven, so 7 minutes into baking I turned the pan. They looked AMAZING and I nearly stopped the baking, but I didn't. I am waiting for the next 3 minutes to go and grab these from the oven. I don't know if I'll be able to restrain myself and wait till they are cool to eat one.

Yeah, I couldn't wait.

Things I might try differently: I believe you can make this into a sandwich loaf, and next time I will definitely try it. I'll also keep the extra butter - the dough was beautifully elastic, and butter is awesome. Next, I think I'll add a bit more salt and will increase it by 1/2 tsp till it tastes right or doesn't rise. I don't know why, but I think it needs a bit more oomph. Finally, I think I'll let them cool before eating them. I kinda burnt my mouth a little.


I hope you try this recipe. I think it's a beautiful one to use.

Saturday, November 5, 2011

Canned Meat Products Are Made by the 1%!!

My husband bought this at the store. I hadn't warned him:

He opened it "Um, wow, this doesn't really look like the label" and of COURSE, I rushed in with my camera.


I walk away, laughing, knowing I have another winner. Soon follows a sucking sound like when you empty dog food out of a can but the dog ran OUT of the kitchen. I hear "Ugggh. I'm NOT going to eat this. There is no way." followed by both of us literally on the floor of the kitchen crying tears at the fact the dog refused to even sniff the canned meat product.

And, here, my friends, is the final picture in the trifecta of canned grossness. The 3rd circle of Dante's Inferno.


--farah

Thursday, October 27, 2011

Castleberry's Stew

Cans of Stew. Should be outlawed.

Delicious looking product, correct?

Not so much!!!!


Looks like diaper poo.


Now, for something yummier:

Saturday, October 22, 2011

Broccoli Cheese Casserole


WITH BACON!!!!

Here is the recipe I followed:

-1/2cup long-grain rice (uncooked long grain)
-6 slice bacon
-1 onions (chopped)
-10 oz broccoli (chopped frozen, thawed)
-one can cream of chicken soup (condensed)
-1 cup milk
-16 oz sauce (processed cheese)

Directions

-Preheat oven to 350 degrees F (175 degrees C).
-In a saucepan bring 1 cup water to a boil. Add rice and stir. Reduce heat, cover and simmer for 20 minutes.
-Place bacon in a large, deep skillet. Cook over medium high heat until evenly brown. Drain, crumble and set aside. Saute onions in bacon drippings over medium heat.
-In a 9x13 inch baking dish combine cooked rice, bacon, onions, broccoli, soup, milk and cheese sauce.
-Bake in preheated oven for 30 minutes, or until golden brown.

I used only 2 slices of bacon because that was what I had. I also only had a can of cream of broccoli soup and no fake cheese (who the heck would really use a block of Velveeta except for the Duggars?)

So, here I go with my 2 strips of bacon and real cheese.

Here is photo 1: Not too awful.


You really can't NAPed (not as pictured) up BACON, rice, and onions. For those of you who do not know, anytime you type BACON it has to be in all capitals because that is the proper way to show others that BACON has dominance over all other foods. Well, Butter is pretty important too but should only have the first letter capitalized. So sorry for the Language Arts lesson, but if the readers aren't aware, I only have myself to blame.

Second picture (BC--before cooking)... Um, yeah:


For the next picture, I wasn't sure if I should show you my son's reaction to said product or said product first. I'm deciding on showing you his picture, because he is pretty darn cute and it will lessen the look of horror you will sustain. Just remember, if you make that face too much, it will freeze that way.

Here is Sam:


And, now, the comparison pictures:


So so so so glad I have a out of the home job because, well, yeah......
--farah

Friday, October 21, 2011

Cornish Pasties

Not to be confused with the other kind of pasties. If you would like information on this kind of pasty you can find it Here.

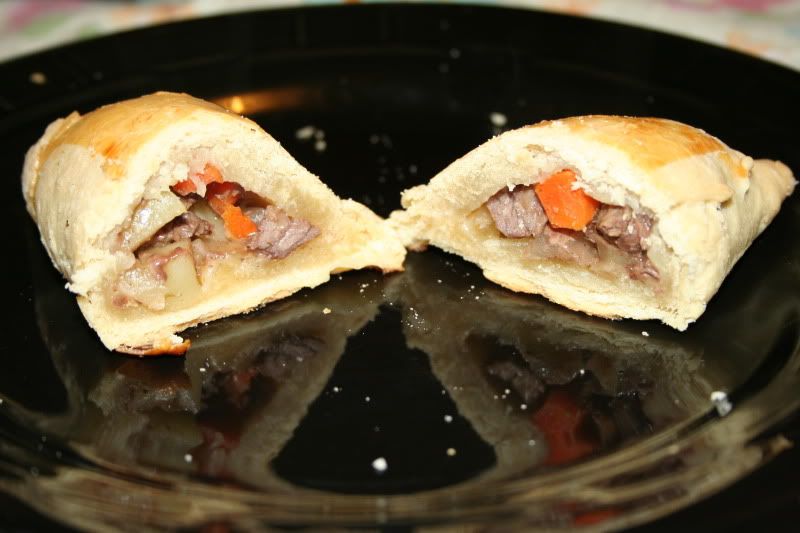
Now, let it be known that I have made pasties before and I'm chronically bad at rolling out the crusts too thick. These were some of my better tries but still too thick. 

The recipe itself is a good base but there are some big issues I take with this recipe which I'll share after I give you all the recipe.

Their photo

310 g (2 1/2 cups) plain (all-purpose) flour
125 g (4 1/2 oz) butter, chilled and chopped
150 g (5 1/2 oz) round steak, finely chopped
1 small potato, finely chopped
1 small onion, finely chopped
1 small carrot, finely chopped
1-2 teaspoons Worcestershire sauce
2 tablespoons beef stock
1 egg, lightly beaten

Grease a baking tray. Place flour, butter, and a pinch of salt in a food processor and process for 15 seconds, or until crumbly. Add 4-5 tablespoons of water and process in short bursts until the mixture comes together (add more water if needed). 

Turn out onto a floured surface and form into a ball. Cover with plastic wrap and chill for 30 minutes. 

Preheat the oven to 210 degrees Celsius (415F/Gas 6-7). Mix together the steak, potato, onion, carrot, Worcestershire sauce and stock. Season.

Divid the dough into six portions and roll out each to 3mm (1/8 inch) thick. Using a 16 cm (61/2 inch) diameter plate as a guide, cut out six circles. Divide the filling evenly and put into the centre of each pastry circle.

Brush the edges of each pastry round with beaten egg and form into a semi-circle. Pinch the edges to form a frill and place on the tray. Brush with the remaining beaten egg and bake for 10 minutes. Lower the oven to 180 degrees Celsius (350F/Gas 4). Cook for 20-25 minutes or until golden. Makes 6.

Now my first issue with this is the bit about the food processor. I've always made my pasties by hand. So I totally tried it this way. Got halfway through adding water and decided to turn it out onto wax paper and do the rest by hand.

The cooking time was exact in this case however we had left over filling and not enough dough. I would suggest doubling the dough and just adding a little bit more potato and meat. 

Now as for taste, they were good but rather bland. Everyone in my family said next time add more Worcestershire sauce and mixing it with the beef stock and I would recommend letting the meat sit in the mixture and soak for a good 10 minutes before adding the carrots, potatoes, and onions.

Also when they say small potato, they mean small but my family loves potatoes and carrots which is why I think doubling the dough and adding more filling would do good with this recipe.

So all in all it is a great base recipe but could definitely use a little work.
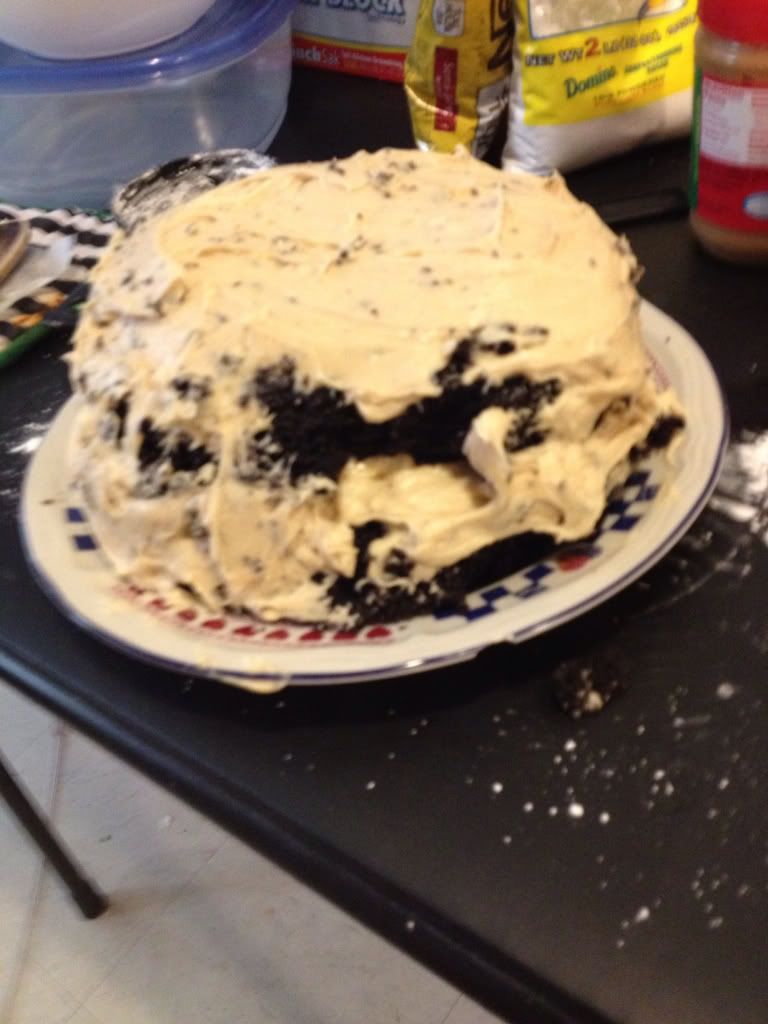
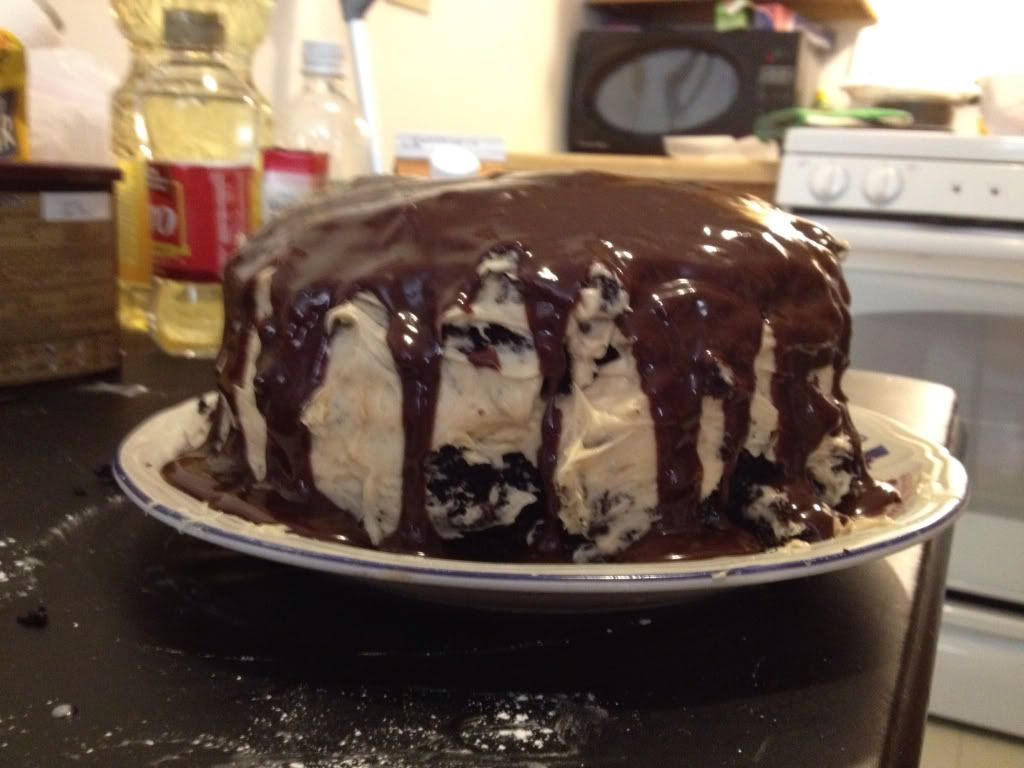
Thursday, October 20, 2011

Pantry Baked Potato Soup


It's gotten cold here in the upper mid-west where I live, and dude? I don't wanna go out in it. I was casting about my kitchen trying to figure out what to make for dinner with the stuff we had on hand.


And I ended up with this:


Bake 2 large baker potatoes (I used russets) or 4 medium potatoes till at least fork tender. I take and squish them a bit with a hot pad. When they give nicely, they are done. If you are doing this step well before, cool and store in the fridge. If not, it'll make your soup faster if they are hot.


About 25 minutes before serving, lay 6 slices of bacon on a baking sheet with sides and bake till crisp at 350* (also? This is how you don't have spatters all over the kitchen) Skip this step if you prefer.


Then:


3tbsp flour


3tbsp butter


melt this together in a 4+ quart pan on medium heat. When melted, let sit, stirring occasionally till it starts to turn light tan.


Then add 1 1/2 c chicken or veggie broth, stir.


Then add 1 c 1/2 & 1/2 (I KNOW, you could use milk if you prefer. I just had some to use up)


Then add 1/2 c sour cream (I'd use plain kifer if I had that instead)


Then add the baked potatoes that you have cubed. I left the skins on because I like them, your choice. Let them warm in the soup, if they are chilled.


Then add 1 cup of grated cheese. Mine was a mix of a sharp cheddar and a fairly young Gouda.


Then taste it. Add salt and pepper to your taste.


If you are skipping bacon, you are done here. If you have fresh chives, add those as a garnish. If you have chive or garlic chive blossoms, it's Spring and you are a lucky cook - make me jealous and use them. If you have a Penzey's near you, go and get their Shallot Pepper and after you've served up a bowl, add that on top. Yum.


If you are adding the bacon, take 4 slices and chop them lightly and stir into the soup. Then chop the remaining two slices and after you've served up the bowl, add them as a garnish to the top. I also used a little pepper (the Hubby loves pepper).


This soup made at least 5 1cup servings. Hubby had a huge bowl, I ate about half of the portion above and there was another bowlful in the pot.